I love scrapbooking and I always get lots of questions about scrapbooking. So, I wanted to share some of my scrapbooking tips along with one of my favorite scrapbooks with you.
Tip: Simplicity
One thing I like to do is to keep it simple. So that I don't over think it and get burnt out and then not want to scrapbook anymore. Scrapbooking has come along way, we went from like 2 aisles of scrapbooking supplies to half of the store. And although it's nice to walk into a store and have so many options. Sometimes too many option are overwhelming.
First. When shopping for supplies I like to keep it simple which also helps on my pocketbook. I love to by supplies that are versatile and go along way. Hence why I call my self a ribbon whore, I Love ribbon. Usually, I buy supplies like ribbon, buttons and jewels not in the scrapbook aisle but in the craft and notion sections, because I can get more for my buck.
Like I said options are overwhelming and can lead to not only over thinking but over paying. So a good example is my Disney book. There are lots of cute options for Disney scrapbooking. But I used mostly what I had on hand and only purchased one Disney embellishment for this project. I got these cute Mickey ear buttons that went perfectly with my paper.
Supplies:
Paper. Below you can see I used this cute bright paper that all goes together no over thinking. The paper is also very versatile it can be used for a boy, birthday, summer vacation or in my case a Disney trip.
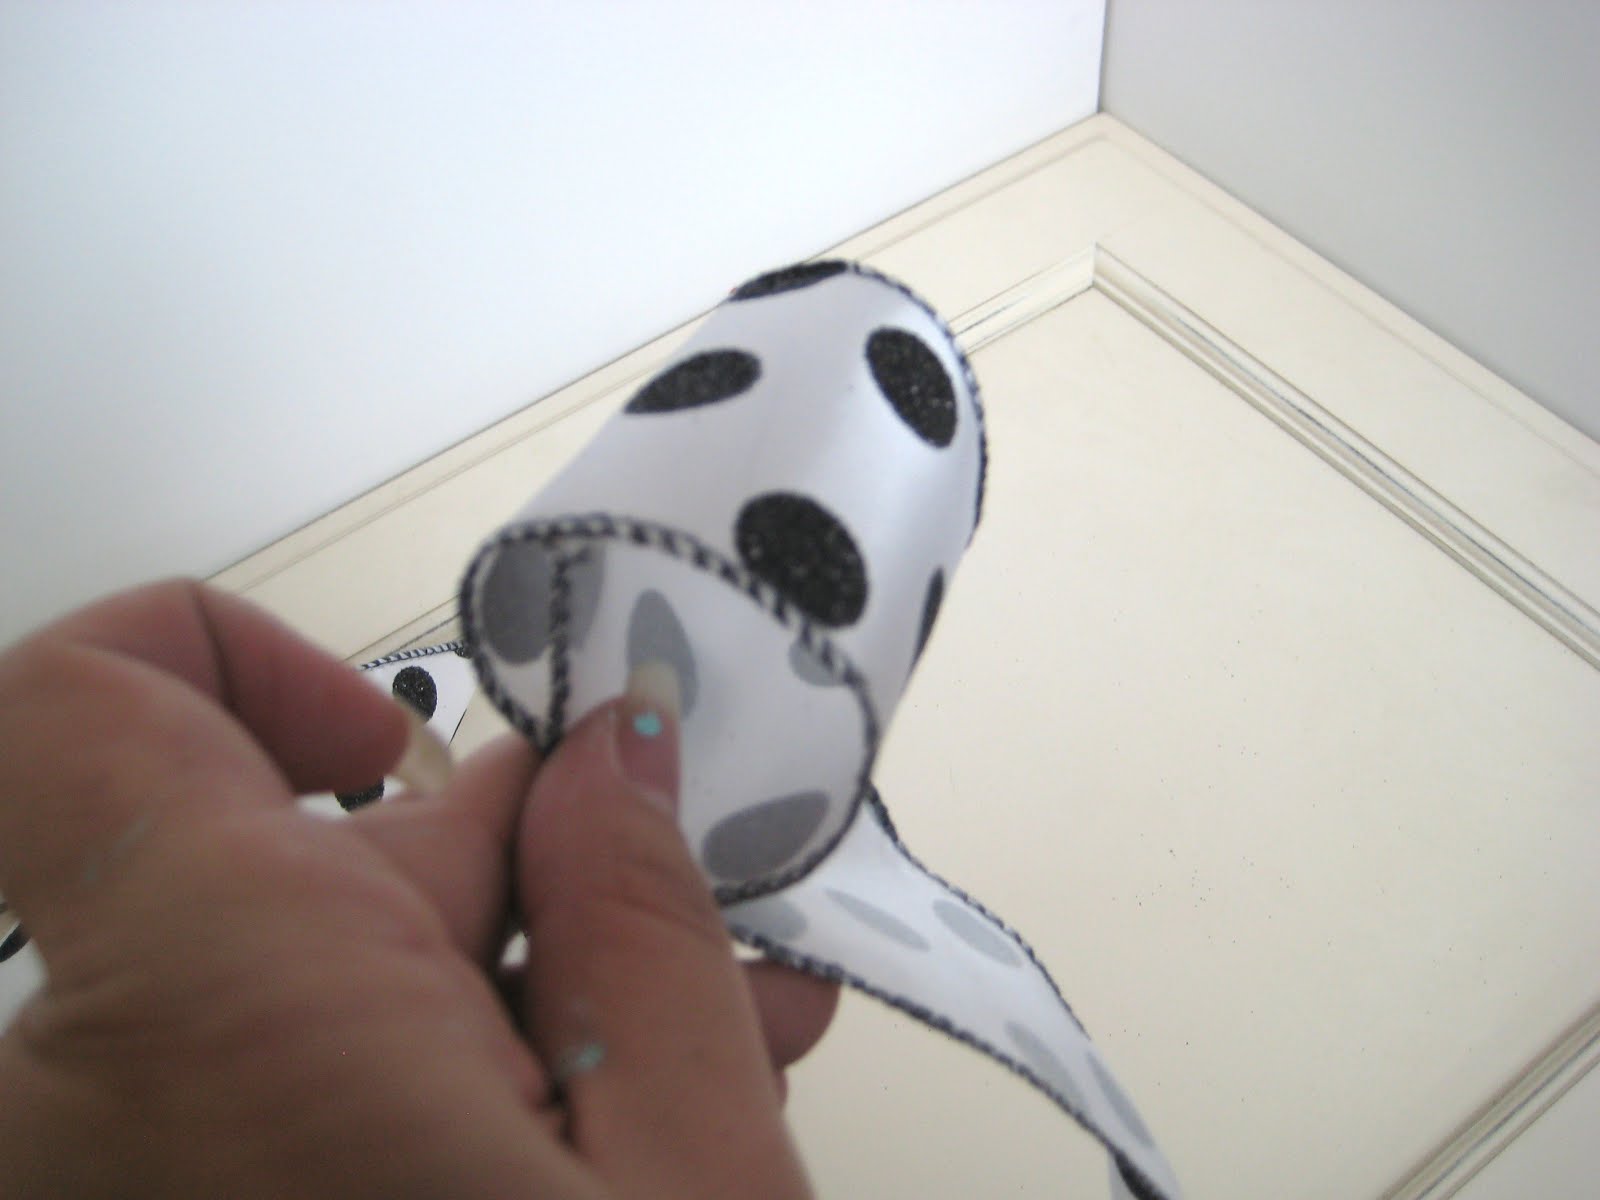
Ribbon. I picked out a few ribbons that went with my paper from my vast supply. A good example of getting more for your buck is, I purchased Fun Fur Yarn in the knitting aisle. It was $1 for 64 yards and I love the texture it gives to my pages.
Tools. I keep my tools very simple. I love Color Box cat eye chalks they are my biggest secret. I use them on every scrapbook page I do, it gives anything that extra bling. I have a few basic paper punches, I mostly use my circle, square and corner rounder. My stapler is another one of my favorite things to use not only is it utilitarian to use it to staple ribbon to a page, but it adds an extra embellishment to my page.
Adhesive. I don't buy fancy scrapbooking adhesive. I love Beacon 3-in-1 glue it is the best for EVERYTHING. It is a liquid that is fast drying, it doesn't bubble the paper and it is super strong. I use pop dots to give a page some depth. Of course I already said my stapler.
So I took the above and turned it into this...
Paper bag Scrapbooks
They are my favorite kind of scrapbooks to do for many reasons:
1. Simplicity. I don't really do your typical 12by12 pages, they are over whelming and take a lot of supplies aka money to fill 1 page. I love small mini albums, your supplies go along way and you can quickly finish a project and enjoy it.
2.$$$. They are so cheap I buy a package of 100 paper bags for $3. I used four bags for this project that is 12 cents for this album.
3. Pockets. When you go to Disney you come home with all these trinkets that are special, but hard to include in a regular scrapbook. With a paper bag scrapbook you have pockets that are great to hold those special trinkets and extra photos.
Tip: Wallet Size Pictures
Now, because I usually do mini albums I like to print out wallet size pictures. I print them at home on my HP printer and instead of just getting one 4x6 picture I get two wallet size pictures. I love to save that $money$ where I can. Also, it keeps up on my simplifying trend, because there is no need to cut to crop my photos. I just print out my pictures and plug them into my album... easy.
Page 1 & 2
Notes: For this trip to Disney we got Elizabeth a autograph book which she had so much fun getting the characters autographs. While doing this scrapbook I wanted to include them. So I photocopied them and here on page 2 I include Mini Mouse's autograph in a flip out door.
Page 3 & 4
Page 5 & 6
Note: Here I included both our passports and autographs.
Page 7 & 8
Note: Here you can see that Fun Fur yarn I mention before I love the texture. I made pockets on these pages to hold some extra goodies. I made some autographs into tags by simply using my corner rounder and attaching ribbon to them with staples and brads.
Page 9 & 10
Note: I don't think I mentioned flowers in embellishment above. I always keep an eye out for them at a good price cause they look great on pages. One year I struck gold at the Creative Keepsake convention, the dollar booth had all kinds and used this opportunity to stock up. I love how the green one peeks out of the scrapbook.
Page 11 & 12
Note: OK...OK I know this is a Disney book but we did go to SeaWorld on this trip, so I included it. Again I used my extra pictures and passport as tabs.
Page 13 & 14
Note: I love to use things like that fast passes, passports and autographs as embellishments.... they are easy on my pocket book and I love that.
Back Cover:
Note: It's one of my favorite parts of this album, cause I got to feature one of those awkward special trinkets. I attached the Toon Town button to the back cover.
I hope you enjoyed these tips to keep it simple and how to keep down the cost of scrapbooking. Let me tell you my kids LOVE this book they love how interactive it is. They don't just look at it they get to flip open doors and pull out hidden treasures. It is well loved and doesn't just sit on my bookshelf.
Have fun scrapbooking don't forget to share your scrapbook would love to see them.
Your Crafty Friend,
Desiree